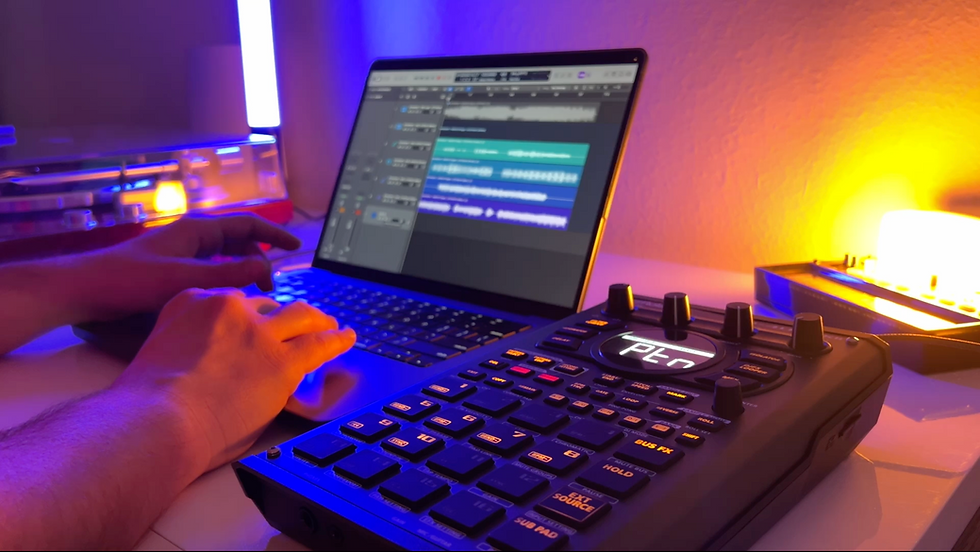
Roland P-6 Granular Engine: Every Setting Explained and How to Incorporate It Into Your Beats
- Sunwarper

- Sep 30, 2024
- 4 min read
Updated: Oct 12, 2024
Today, we're going to breakdown every setting in the granular engine of the Roland P-6. This is a powerful tool that can transform your sound design and beat-making experience, but it's a little difficult to navigate the many parameters of the granular engine using just the 4 character screen on the P-6. After my recent livestream, where we explored our first impressions of the P-6, I received a TON of questions about how to navigate its granular capabilities effectively. So, let’s break down each setting and discuss how to incorporate them into your beats, avoiding the dreaded menu diving along the way.

Overview of the Roland P-6 Granular Engine
The granular engine is an advanced sound synthesis technique that allows you to manipulate audio samples by breaking them into small snippets known as grains. These grains, typically lasting from a few milliseconds to a few hundred milliseconds, can be rearranged, stretched, and modified to create unique textures and sounds. The result is a rich, evolving sonic landscape perfect for lush pads and soaring leads.
Key Concepts: Understanding Grains
Before we talk the settings, it's important to grasp the concept of grains. Each grain captures a short segment of your audio sample and plays it back, often in a way that mimics echoes or delays. By adjusting various parameters, you can create dynamic and engaging sounds that can elevate your productions.
Make the Most of the P-6 with the new Cheat Sheet
Setting Up Your Granular Engine
Choosing Your Sample: Start by selecting a pad in the granular engine. For the example in the video, we'll use a free sound from my P-6 granular sample pack. You can download the sample pack and follow along as well
Hold Pattern + Granular and select the sample you want to set to granular
Breaking down the settings:
1. Start and End Points
Start Point: This controls where the grains begin playback.
End Point: Adjusting this will determine how much of the sample is played back. For instance, setting it to 50% will yield a more focused playback.
2. Head Position (hpos)
Determines the start time of the grain playback (similar to the start point)
3. Head Speed (hspd)
Controls the speed at which the grains are played back. Experiment with forward and negative values to explore different playback speeds (negative plays in reverse)
4. Spread (SPrd)
Adds randomization to the grain playback. Increasing this will create a more chaotic sound, while lower values yield a smoother playback.
5. Grain Density (Grns)
Adjusts the number of grains being played back at any given time. A lower density can make the sound feel more spacious.
6. Grain Shape (GShP)
This parameter applies an LFO to the volume of the grains. You can choose from different waveforms, such as square waves (no change) or sawtooth (fade-in), to shape the dynamics of your sound.
7. Grain Size (GSiZ)
Sets the size of individual grains. Smaller grains can create a more glitchy texture, while larger grains result in smoother sounds.
8. Grain Reverse Probability (GRuS)
This setting determines the likelihood of grains playing backward, adding an evolving texture to your sound.
9. Grain Timing Jitter (GtNJ)
Introduces random timing to the grain playback. Adjusting this can enhance the organic feel of your sound.
10. Grain Time Key Follow (GtNJ)
This controls whether the playback speed is affected by pitch. For complex samples with multiple notes, you might want to set this to zero to avoid unwanted pitch shifts.
11. Start Mode
This setting determines how grains are triggered. The ‘cold’ setting allows grains to play back gradually, while ‘hot’ triggers them all at once.
Once you've adjusted these settings, you can start creating unique sounds. Experimenting with further sound design, like changing the pitch, adding effects like delay and reverb, and manipulating the grains, can develop rich pads and textures.
Example Workflow:
Load Your Sample: Begin with your desired sample.
Set Start/End Points: Narrow down the section of the sample you want to work with.
Adjust Grain Size: Start with a moderate size for a balanced sound.
Experiment with Head Speed and Density: Play around with different settings to discover what resonates with you.
Add Effects: Incorporate delay and reverb to further enhance your sound.
Sequence: The granular engine is polyphonic, so this can work well for lush pads or leads on top of your track
The Roland P-6's granular engine is an exciting feature that can open up a world of creative possibilities in your music production. By understanding and manipulating its various settings, you can craft unique sounds that will add depth and complexity to your beats. Don’t hesitate to experiment and push the boundaries of your creativity.
For a practical demonstration, you can check out my free sample pack linked in the description, which includes sounds we used in our livestream. Happy sound designing, and I look forward to hearing how you incorporate the P-6 granular engine into your beats!
If you're looking to get into the dawless world and learning how to make the most of your gear, email me for online lessons: sunwarpermusic@gmail.com
Sample Packs: https://soundsbysunwarper.bandcamp.com/
Donate: https://ko-fi.com/sunwarper


Comments